
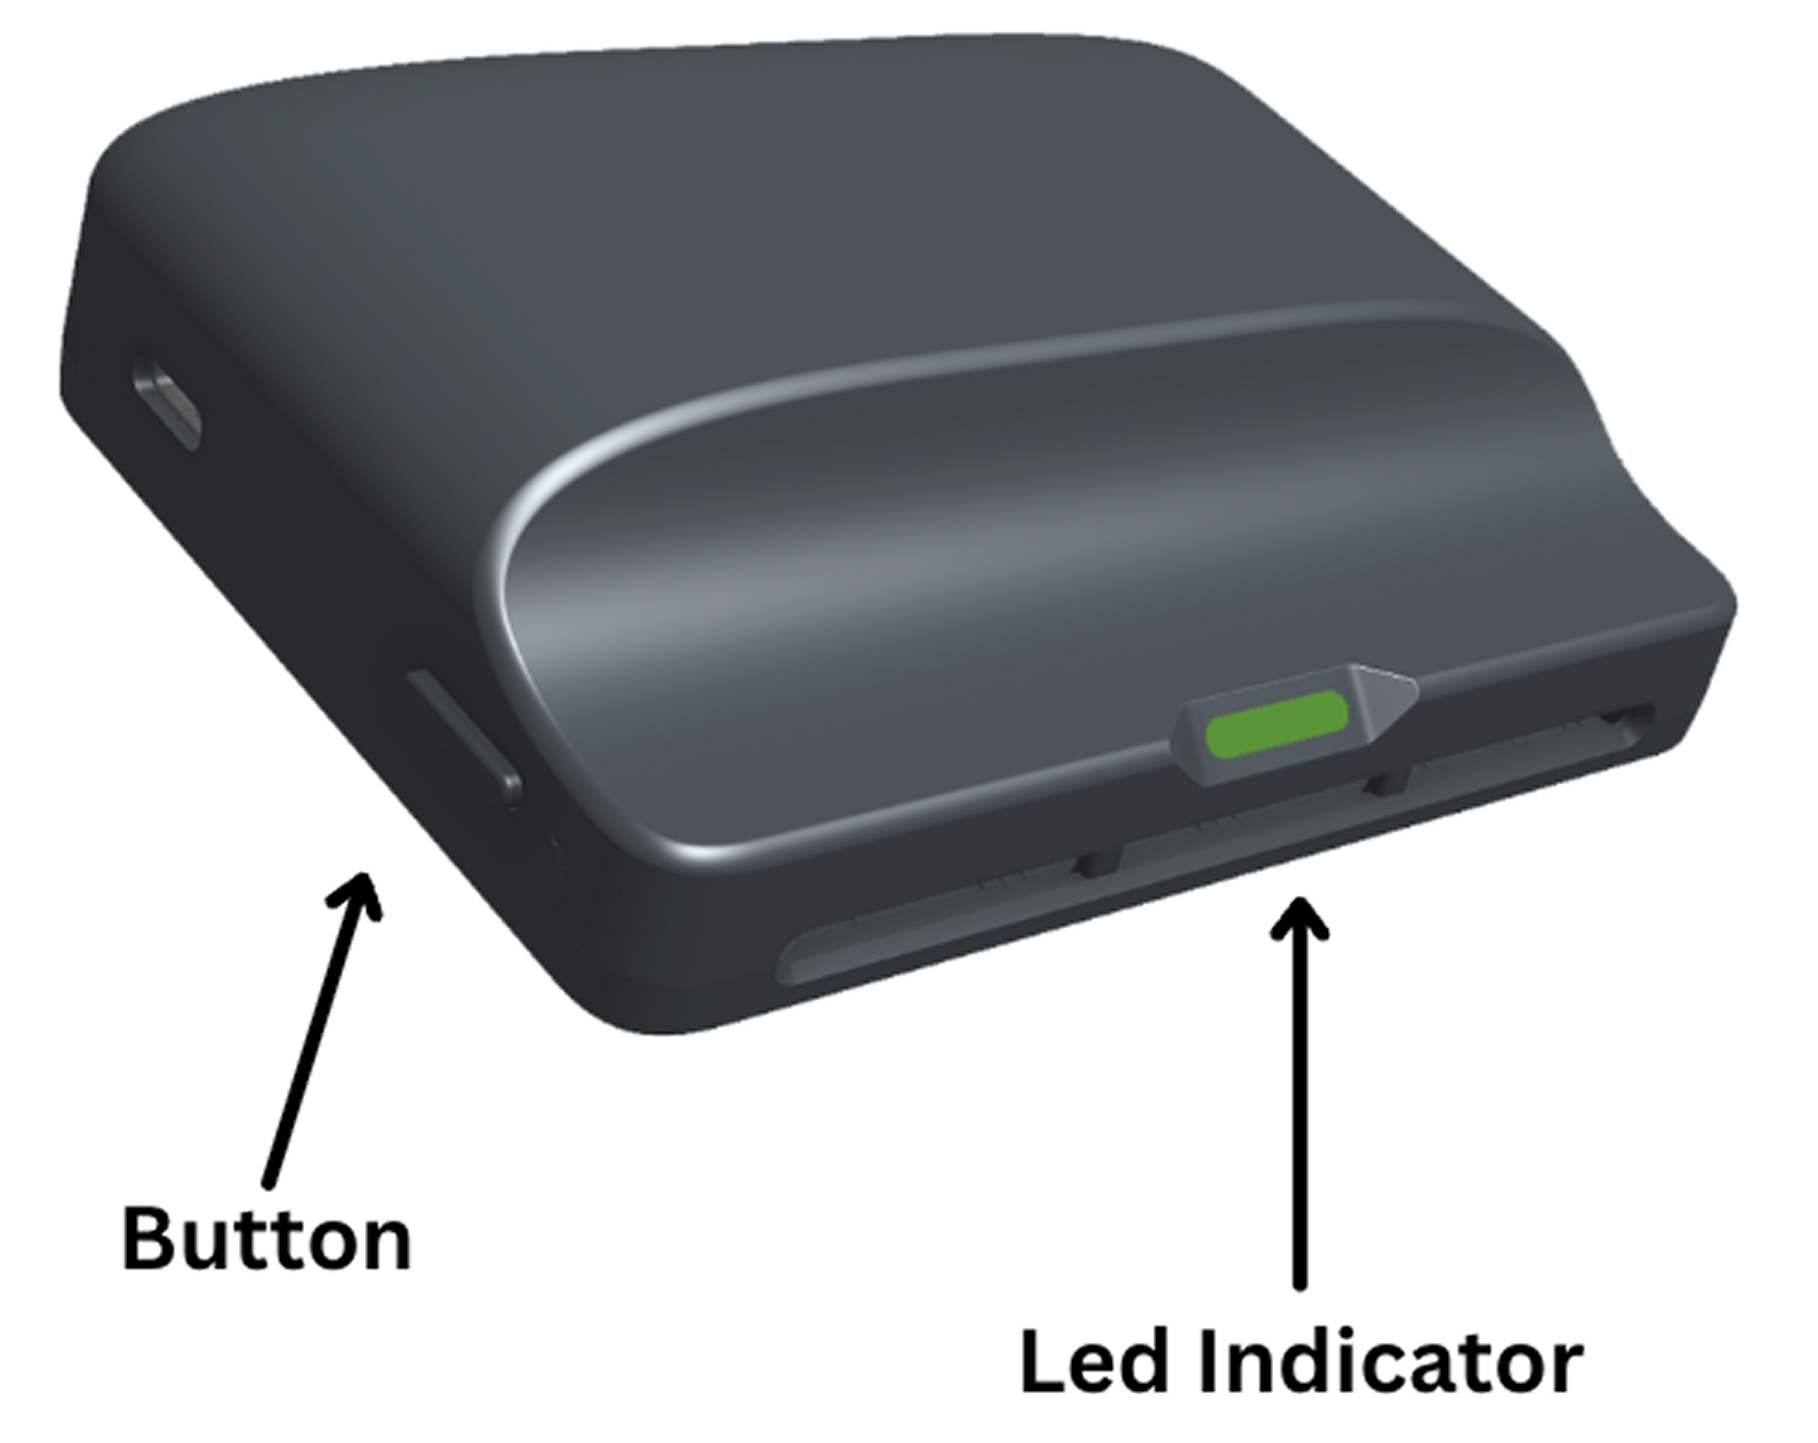
Press the side button for 3 seconds until a green light appears and you hear two short beeps.
If the LED comes on orange, the device still works, but is low on battery and needs to be exposed to sunlight soon.
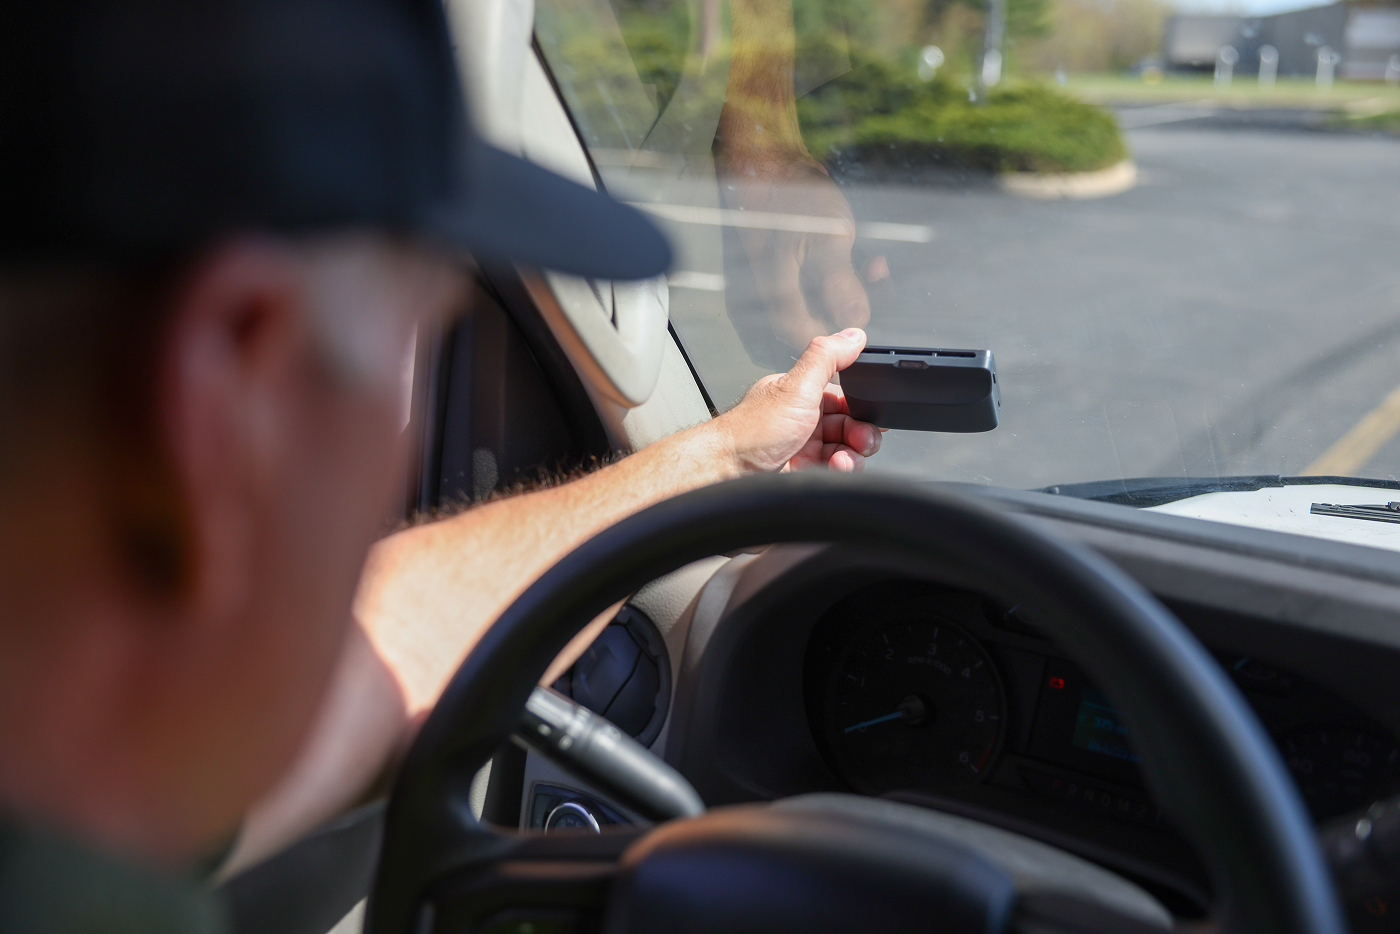
Choose and clean a spot on the inside of your windshield (using the alcohol pad) that gets plenty of sunlight so the device can self-charge. Avoid areas behind stickers or tinted sections, and make sure it doesn’t obstruct your view.

Choose a spot on the inside of your windshield that gets plenty of sunlight (avoid areas behind stickers or tinted sections) and doesn’t obstruct your view.
Peel off the adhesive backing and place the Tag Max on the cleaned spot. Refer to the examples on the right for correct orientation.
Please refer the above steps or follow the tutorial video.

We recommend installing the Tag Max on the lower corner of the windshield on the driver side or behind the rear view mirror. You can place it on other glass area with the following guiding principles:
If you press the button, and the LED comes on, the Tag Max is all set. It might need some solar exposure soon, if the LED is orange.
If this is your first time, you have not pressed the button down long enough. Press and hold the button for a minimum of 3 seconds to activate the Tag Max.
The continuous green LED indicates that you have sufficient battery for successfully operating the Tag Max, and is only coming on after the device has been activated. So you are good to go.
This indicates that Tag Max battery is low. Please charge the device by exposing its solar panel to the sun.
The Tag Max device is equipped with solar panels that allow users to harness solar energy for charging purposes. For best exposure, we encourage our users to park in a sunny spot. The higher the intensity of the sun, the more efficiently it can charge.
The LED of the Tag Max unit can come on in two colors. These are:
If the Tag Max Device is lost or stolen, contact the Tag Max Support Team (tag-max-support@cmtelematics.com)
If the Tag Max Device is destroyed or damaged, contact the Tag Max Support Team (tag-max-support@cmtelematics.com)
Your device has run out of battery. To charge it more quickly, you can plug it in with a USB-C cable. When you plug it in, a little light will come on next to the plug. It will turn off once charged enough. When it is off, you can check that the device is charged again, by pressing the button and see if the larger main LED comes on.
Email Tag Max Support Team (tag-max-support@cmtelematics.com). We will reply via email within 2 business days.
We'd love to hear your feedback! Please share with us at Tag Max Support Team (tag-max-support@cmtelematics.com)